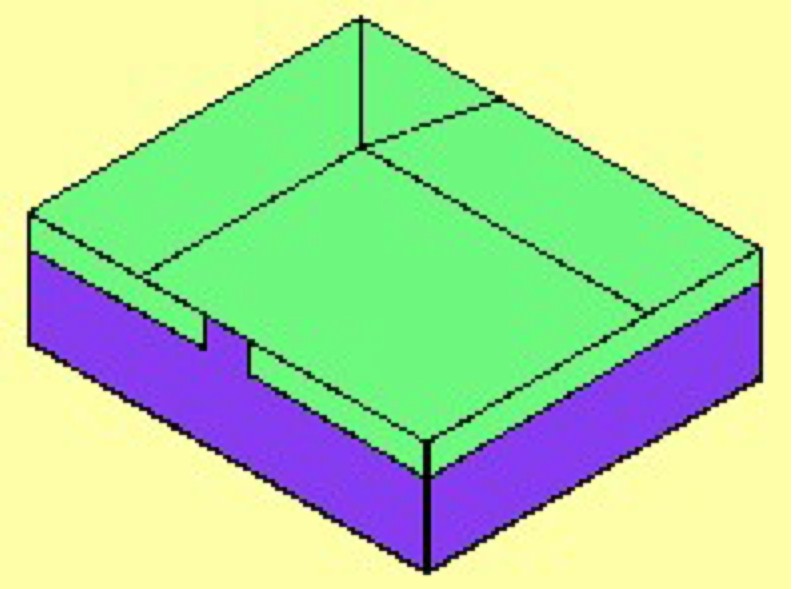

Rectangular Box
Rectangle Box
Welcome page
Back to the list

|

Rectangular Box |
|
Folding sheets Rectangle Box Welcome page Back to the list |
Aveuglami project - folding sheet
Rectangular Box
| Author | Albertino Lionel |
| Category | box |
| Difficulty | * |
| Format | square |
| Base | box-pleating |
| Text | Another rectangular box model!
1. Take a square sheet of paper, put it in the vertical edges position. 2. Make the preparatory middle folds to the preliminary base. Lay the sheet in a horizontal position. 3. Fold in a valley from right to left on the vertical median that already exists. 4. Create a valley fold by bringing the left edge of the top flap from left to right over the right hinge edge. 5. Create a valley fold by bringing the right edge of the top flap from right to left over the left hinge edge. 6. Create a valley fold by bringing the left edge of the top flap from left to right over the right hinge edge. 7. Flip the fold from right to left. 8. Create a valley fold by bringing the right edge of the top flap from right to left over the left hinge edge. 9. Create a valley fold by bringing the left edge of the top flap from left to right over the right hinge edge. 10. Create a valley fold by bringing the right edge of the top flap from right to left over the left hinge edge. 11. Open the fold by pivoting around the left hinge fold. We obtain a vertical rectangular shape, bordered on the left and right by an accordion of two small flaps connected to a third larger flap itself attached to the rectangular bottom. 12. Unfold the two large flaps on each side of the rectangular, pulling the small flaps on top. 13. Flip the fold from right to left. We have a vertical rectangular shape, bordered on the left and right by an accordion of two small flaps connected to the rectangular bottom. 14. Unfold each of the left and right accordions and continue the movement with a mountain fold until you reach the back of the rectangular bottom. We have a vertical rectangular shape, bordered on the left and right by two small double-thick flaps connected to the rectangular bottom by a left or right hinge fold. 15. Fold the rectangular shape in half with a valley fold from top to bottom resting on the horizontal median. We obtain a rectangular shape composed of a front flap and a rear flap linked by a hinged upper edge. 16. Create a valley fold by bringing the bottom edge of the front flap up to the top hinge edge. Mark the fold well. 17. Flip the fold from right to left. 18. Create a valley fold by bringing the bottom edge of the front flap up to the top hinge edge. Mark the fold well. 19. Open the folding by pivoting around the middle hinge. We obtain a horizontal rectangular shape composed of a bottom to which are connected an upper front flap and a lower front flap which meet on the horizontal median. 20. Locate the lower right point of the upper front flap. Moving from right to left along the bottom of the upper front flap, locate the lower left corner of the small right vertical flap. Using a 45° valley fold from bottom to top, bring this corner to the right edge of the upper front flap. We form a small triangle with a horizontal edge. 21. Locate the lower left point of the upper front flap. Moving from left to right along the bottom of the upper front flap, locate the lower right corner of the small left vertical flap. Using a 45° valley fold from bottom to top, bring this corner to the left edge of the upper front flap. We form a small triangle with a horizontal edge. 22. Create a valley fold by bringing the upper right corner of the upper front flap at 45° from right to left on the imaginary horizontal line connecting the two small horizontal edges that we created in the previous steps. Mark the fold well. 23. Create a valley fold by bringing the upper left corner of the upper front flap at 45° from left to right on the imaginary horizontal line connecting the two small horizontal edges that we created in the previous steps. Mark the fold well. 24. Unfold the two small triangles that served as a guide. 25. Fold the lower edge of the upper front flap onto the points which have just been folded with a horizontal valley fold from bottom to top. Mark the fold well. 26. Repeat steps 21 to 26 on the lower front flap. We now have a square shape bordered on the left and right by a very blunt point, most of which is very thick. 27. Following the upper and lower oblique edges of the straight point, locate the upper and lower departures of the horizontal edges. These two points lie on an imaginary vertical line. 28. Fold the right point with a valley fold from right to left, following the vertical line that we have just identified. Unfold, continue in mountain fold. Return to initial position. 29. Following the upper and lower oblique edges of the left point, locate the upper and lower departures of the horizontal edges. These two points lie on an imaginary vertical line. 30. Fold the left point with a valley fold from left to right, following the vertical line that we have just identified. Unfold, continue in mountain fold. Return to initial position. 31. Slide your thumbs under both flaps, lift gently until the box is well shaped. |
| Contents | File |
| Rectangular Box - PDF file | ML-Box10Ang.pdf |